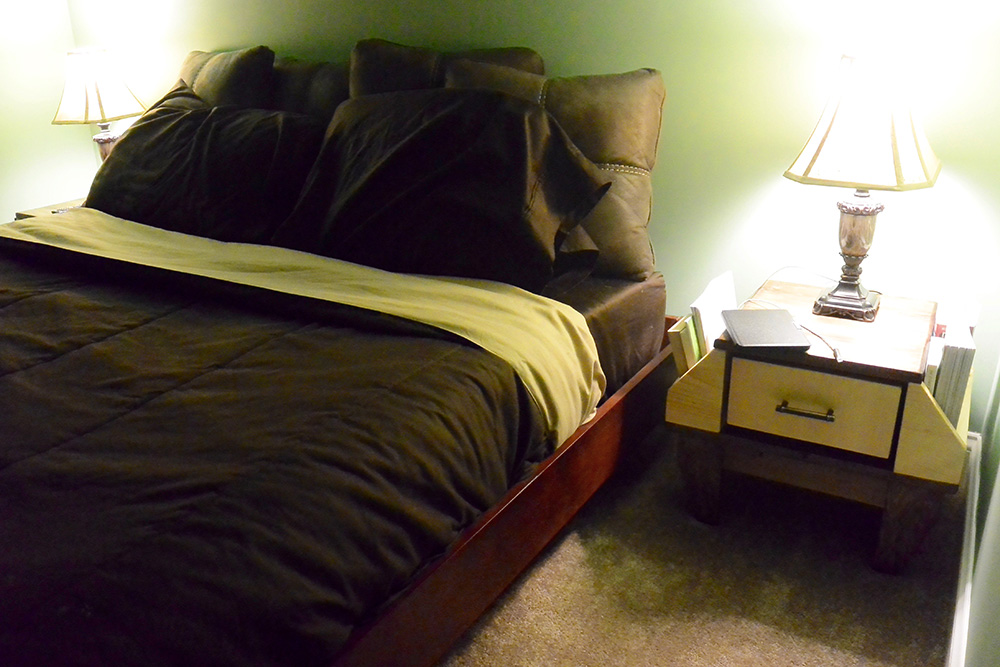
This weekend I completed my first furniture design project. Instead of buying the tools for traditional wood joinery I opted to use pocket holes. It is less expensive, and requires less time and patience. I was able to build two nightstands in a week. I haven’t been this excited since I was gifted my first pack of Legos. Pocket hole joinery is like building stuff with wooden Legos that you design! Here’s what I learned.
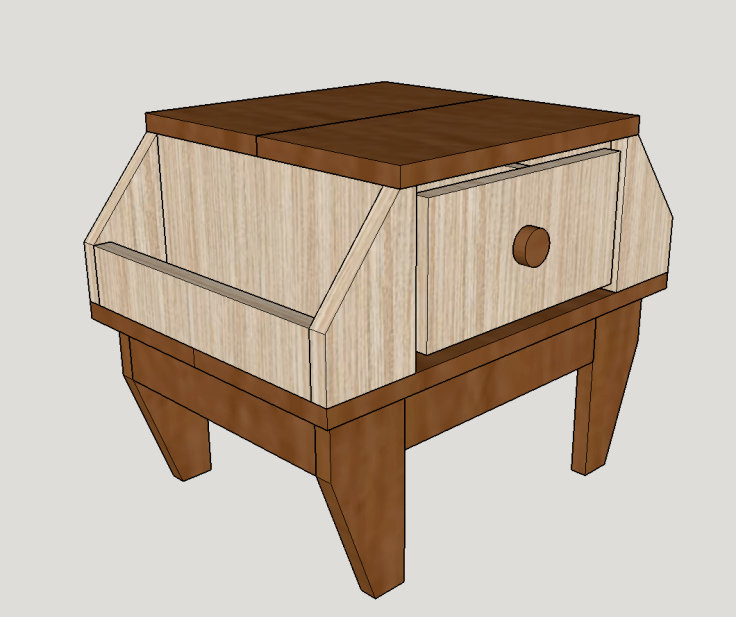
There are three fundaments to consider when building furniture with pocket holes:
- Placement of pocket holes – they should be placed either hidden from view, or in a spot that integrates with your design
- Order of assemblage – if you screw the pieces together correctly, you can achieve a level design with little effort. The Kreg Jig ensures a tight angle.
- Plugging the holes – after the holes are drilled, and the parts are assembled, you can plug the holes with wooden dowels to make them visually appealing
This was my first attempt, so I messed up all three of those points! Even though I planned out the placement of holes in advance, as I proceeded with the project I learned I could have placed the holes more optimally. By then it was too late to re-drill. Also, if I could start over, I’d rethink how I assembled the pieces. As you put the pieces together you want to consider stability, as well as easy-access to other pocket holes. Finally, I was not able to plug the holes in the end. It turns out that Kreg’s plugs need to be sanded after they are inserted. I did not realize that, and because of their position, and because I had already polycoated the wood, I was not able to plug and sand any visible holes.
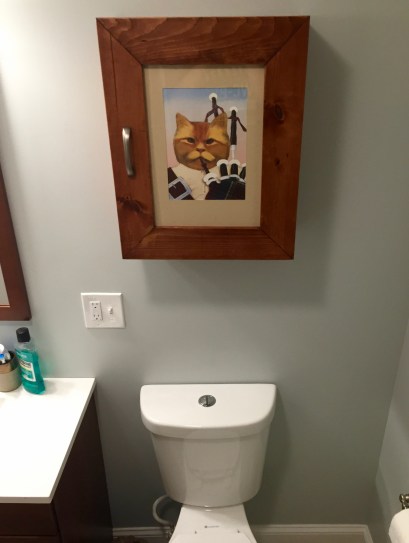
I used pine, a soft, forgiving wood, and thus my mistakes were not fatal ones. I thrilled to have a beautiful, functional, though slightly flawed set of nightstands. Up next, I’m going to revise my plans for these tables, and open source them so that you can build them if you want! I’m also working on a design for a medicine cabinet. In the meantime, enjoy these photos.